

A Few Weeks of Smithing 2
Fine, maybe this will fit an email.

Ok, it took me 11 days to get to part two… sorry about that. Part of that delay was me working furiously, yet joyfully, to finish up Vargston for Jay Rollins in advance of his drive by of my place during his move. Let’s look at that, then get back to the other random projects in the next post. Because I am STILL over the email limit. *sigh*
So, the first thing was to correct the almost comically bad job I did welding the socket to the head. Going from this
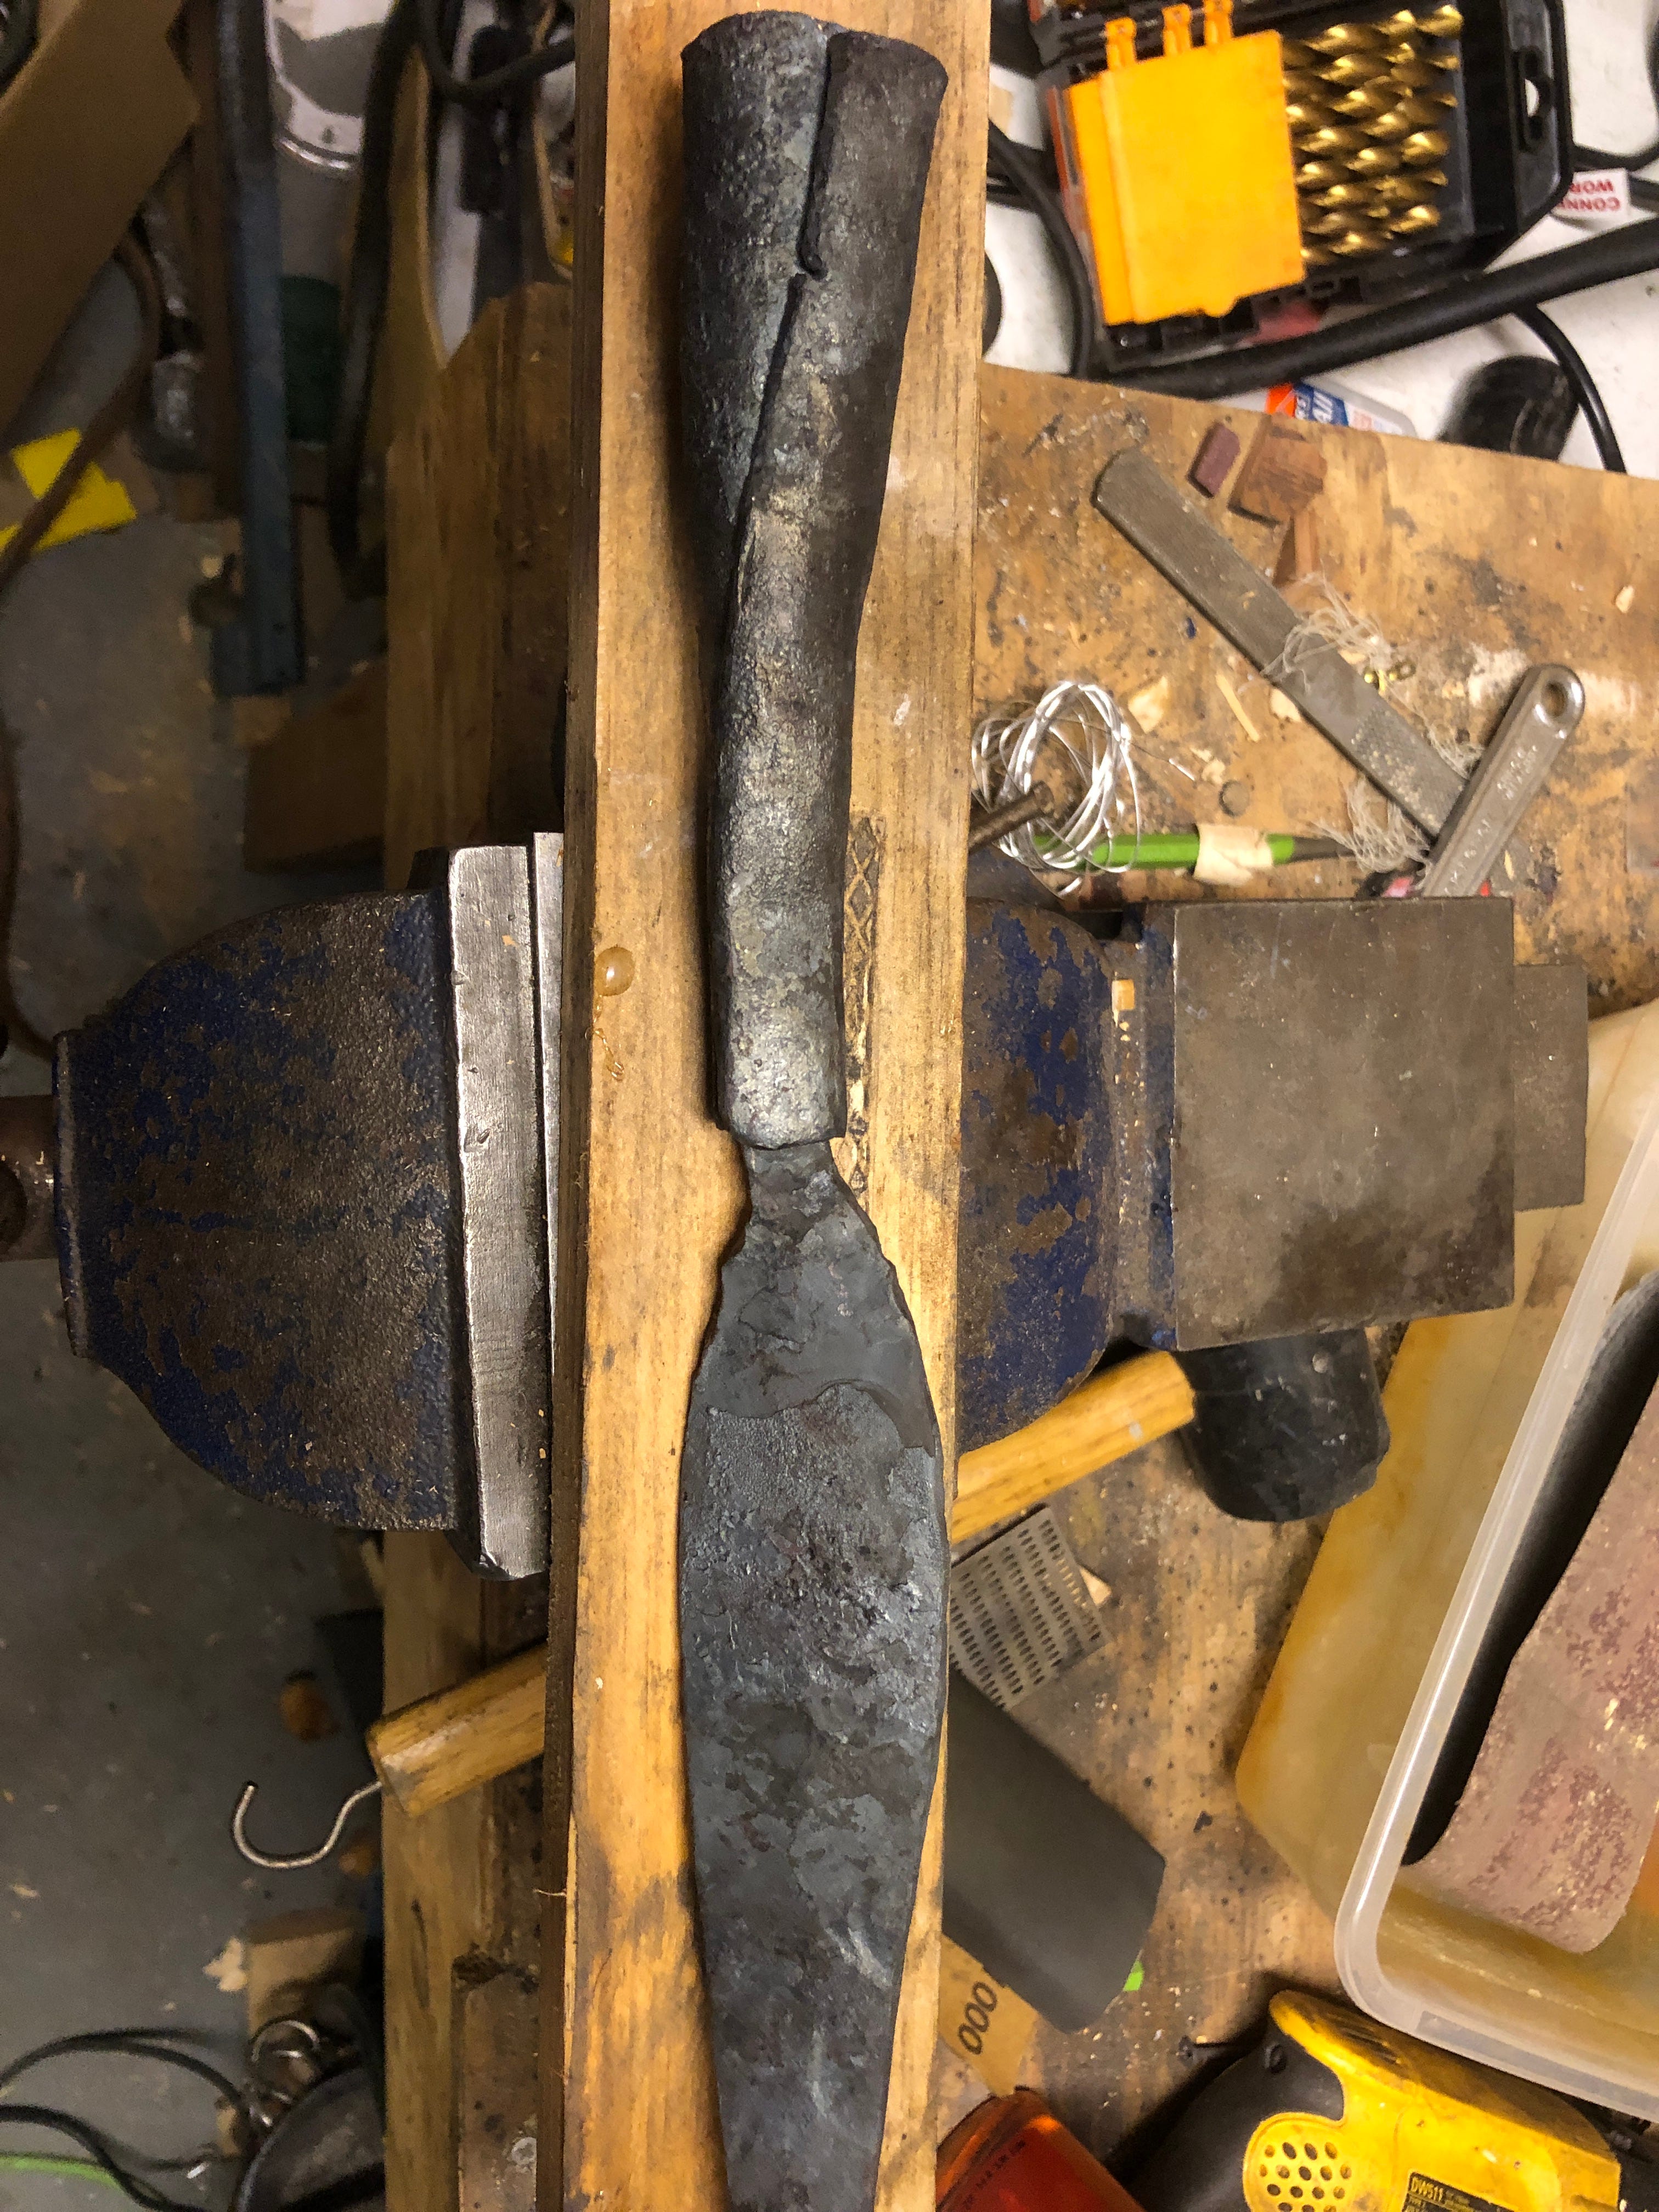
to this:
Was a huge improvement. The main thing was cutting off a lot of extra material from the socket where it joins. I was too worried about not having enough to wrap around and meet, but in fact had too much and it was messing things up. As it turns out, I should have cut more off the bottom part as well, but that was less of an issue.
Another thing I did was cheat a little and use the electric welder to put a bead on each side of the head’s tang to attach it to the socket metal before wrapping and forge welding. Turns out I could have gotten away with a little tack weld, but I wasn’t 100% confident in the forge welds taking well enough. After polishing though…
There’s exactly one little seam from the forge weld, right in between where the electric welds were. Outside that little seam, the whole thing is one totally solid chunk of steel.1 Hooray!
At this point there was a lot of grinding happening to get the bevels in place, clean up some of the hammer marks, and in general get it ready to heat fit to the shaft then head treat the head.
But about that shaft…
Following my normal rule of thumb of “to make something nice, start with something really nice and try not to mess it up too much” as well as “it it’s free, it’s for me” I dug through the lumber pile at my dad’s place. We found a walnut board that was ~1” at one end and 1.25” at the other. Kind of awkward to use for furniture without planning it down to 1”, but just fine here, so Ol’ Pap cut off two 1.25” staves.
Two, because my other rule of thumb is “You are going to screw it up; have a spare.”
First thing to do is to take a rectangle and make it into a rounded octagon.
Now, I could do that with a table router and bit. Even better, I could use a 1/4” round bit and make it into a nice round dowel. I mean I have the router but… all my (second hand) round over bits don’t have shanks, just the blades. What? Why?
Then I thought “Hey, I have a spoke shave! Why not that?”
After an hour of practicing on another rough cut piece of oak, I remembered: spoke shaves can tear out big chunks if it catches the grain badly. I am not that careful.
Then I thought “What’s the fastest and also loudest way to do this?”
Angle grinder with a 36 grit flap disk sander2. FUCK YEA!
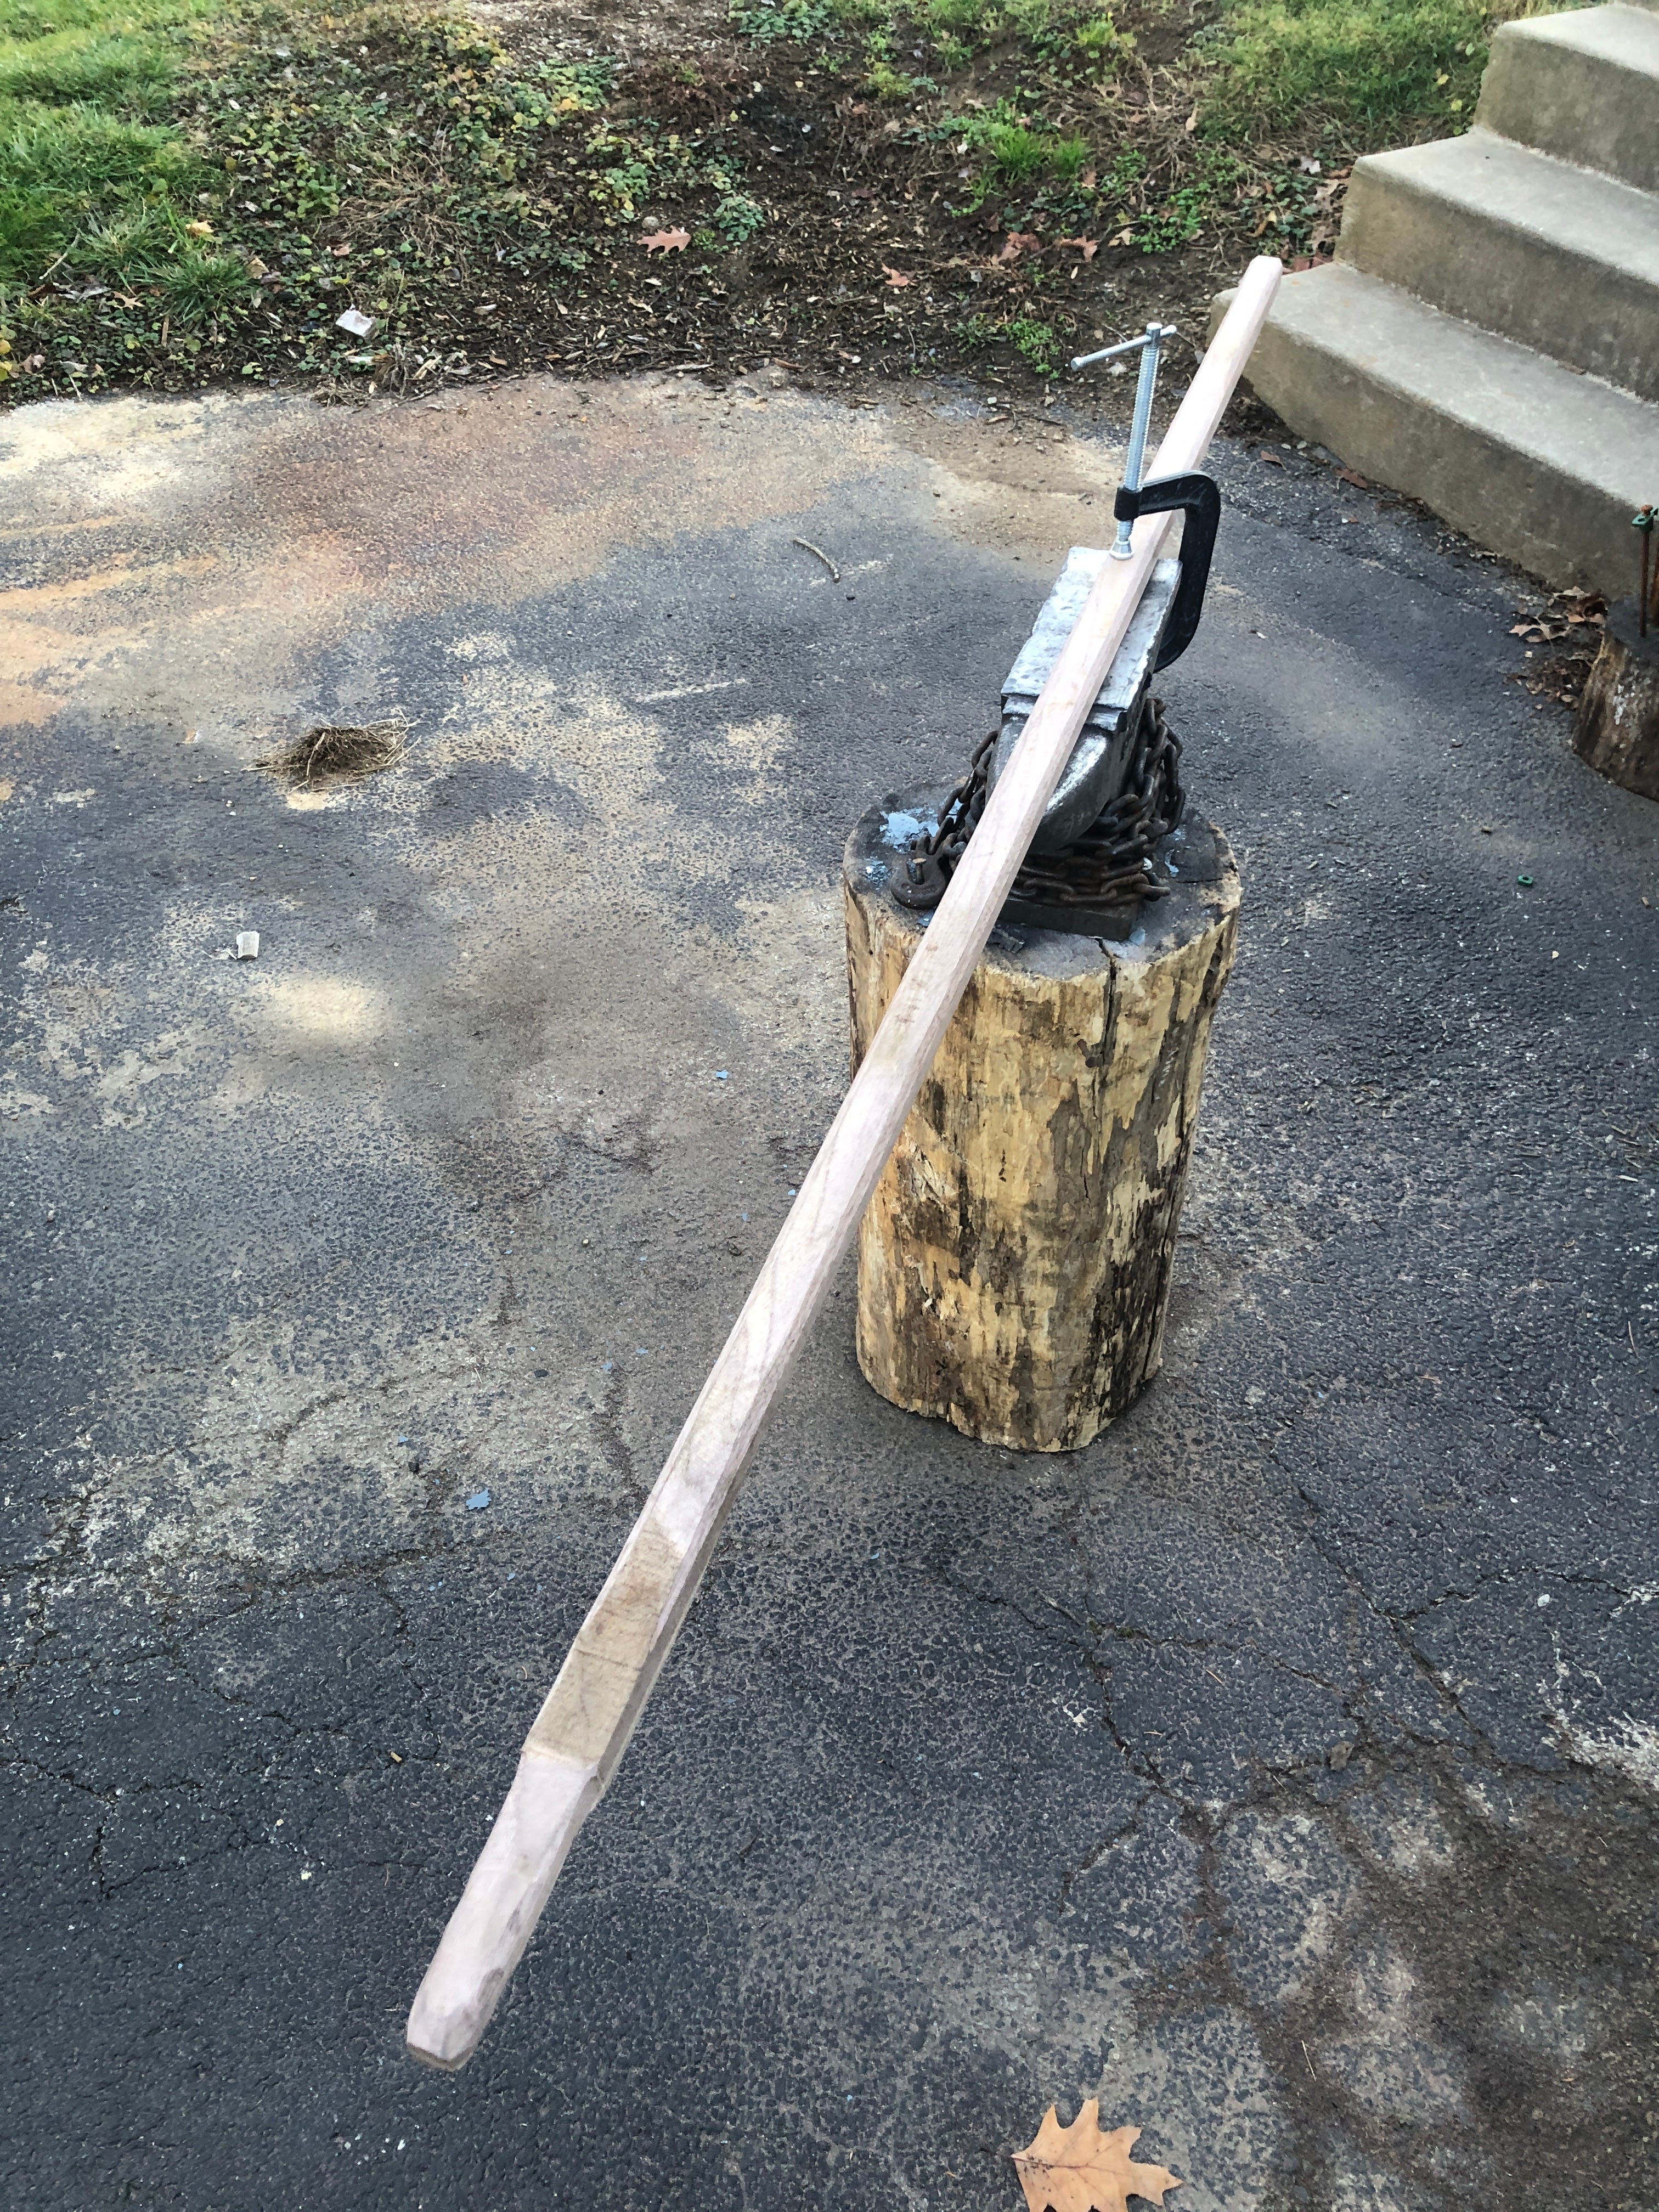
Turns out it requires a pretty good eye for angles, and a steady hand, but goddamn, it works! It works really well. Not for like precision word working (furniture) perhaps, but it is great here.
(I only recently discovered the use of flap disks and other, non cut off wheels for the angle grinder, and man… I have been criminally under utilizing that tool all these years!)
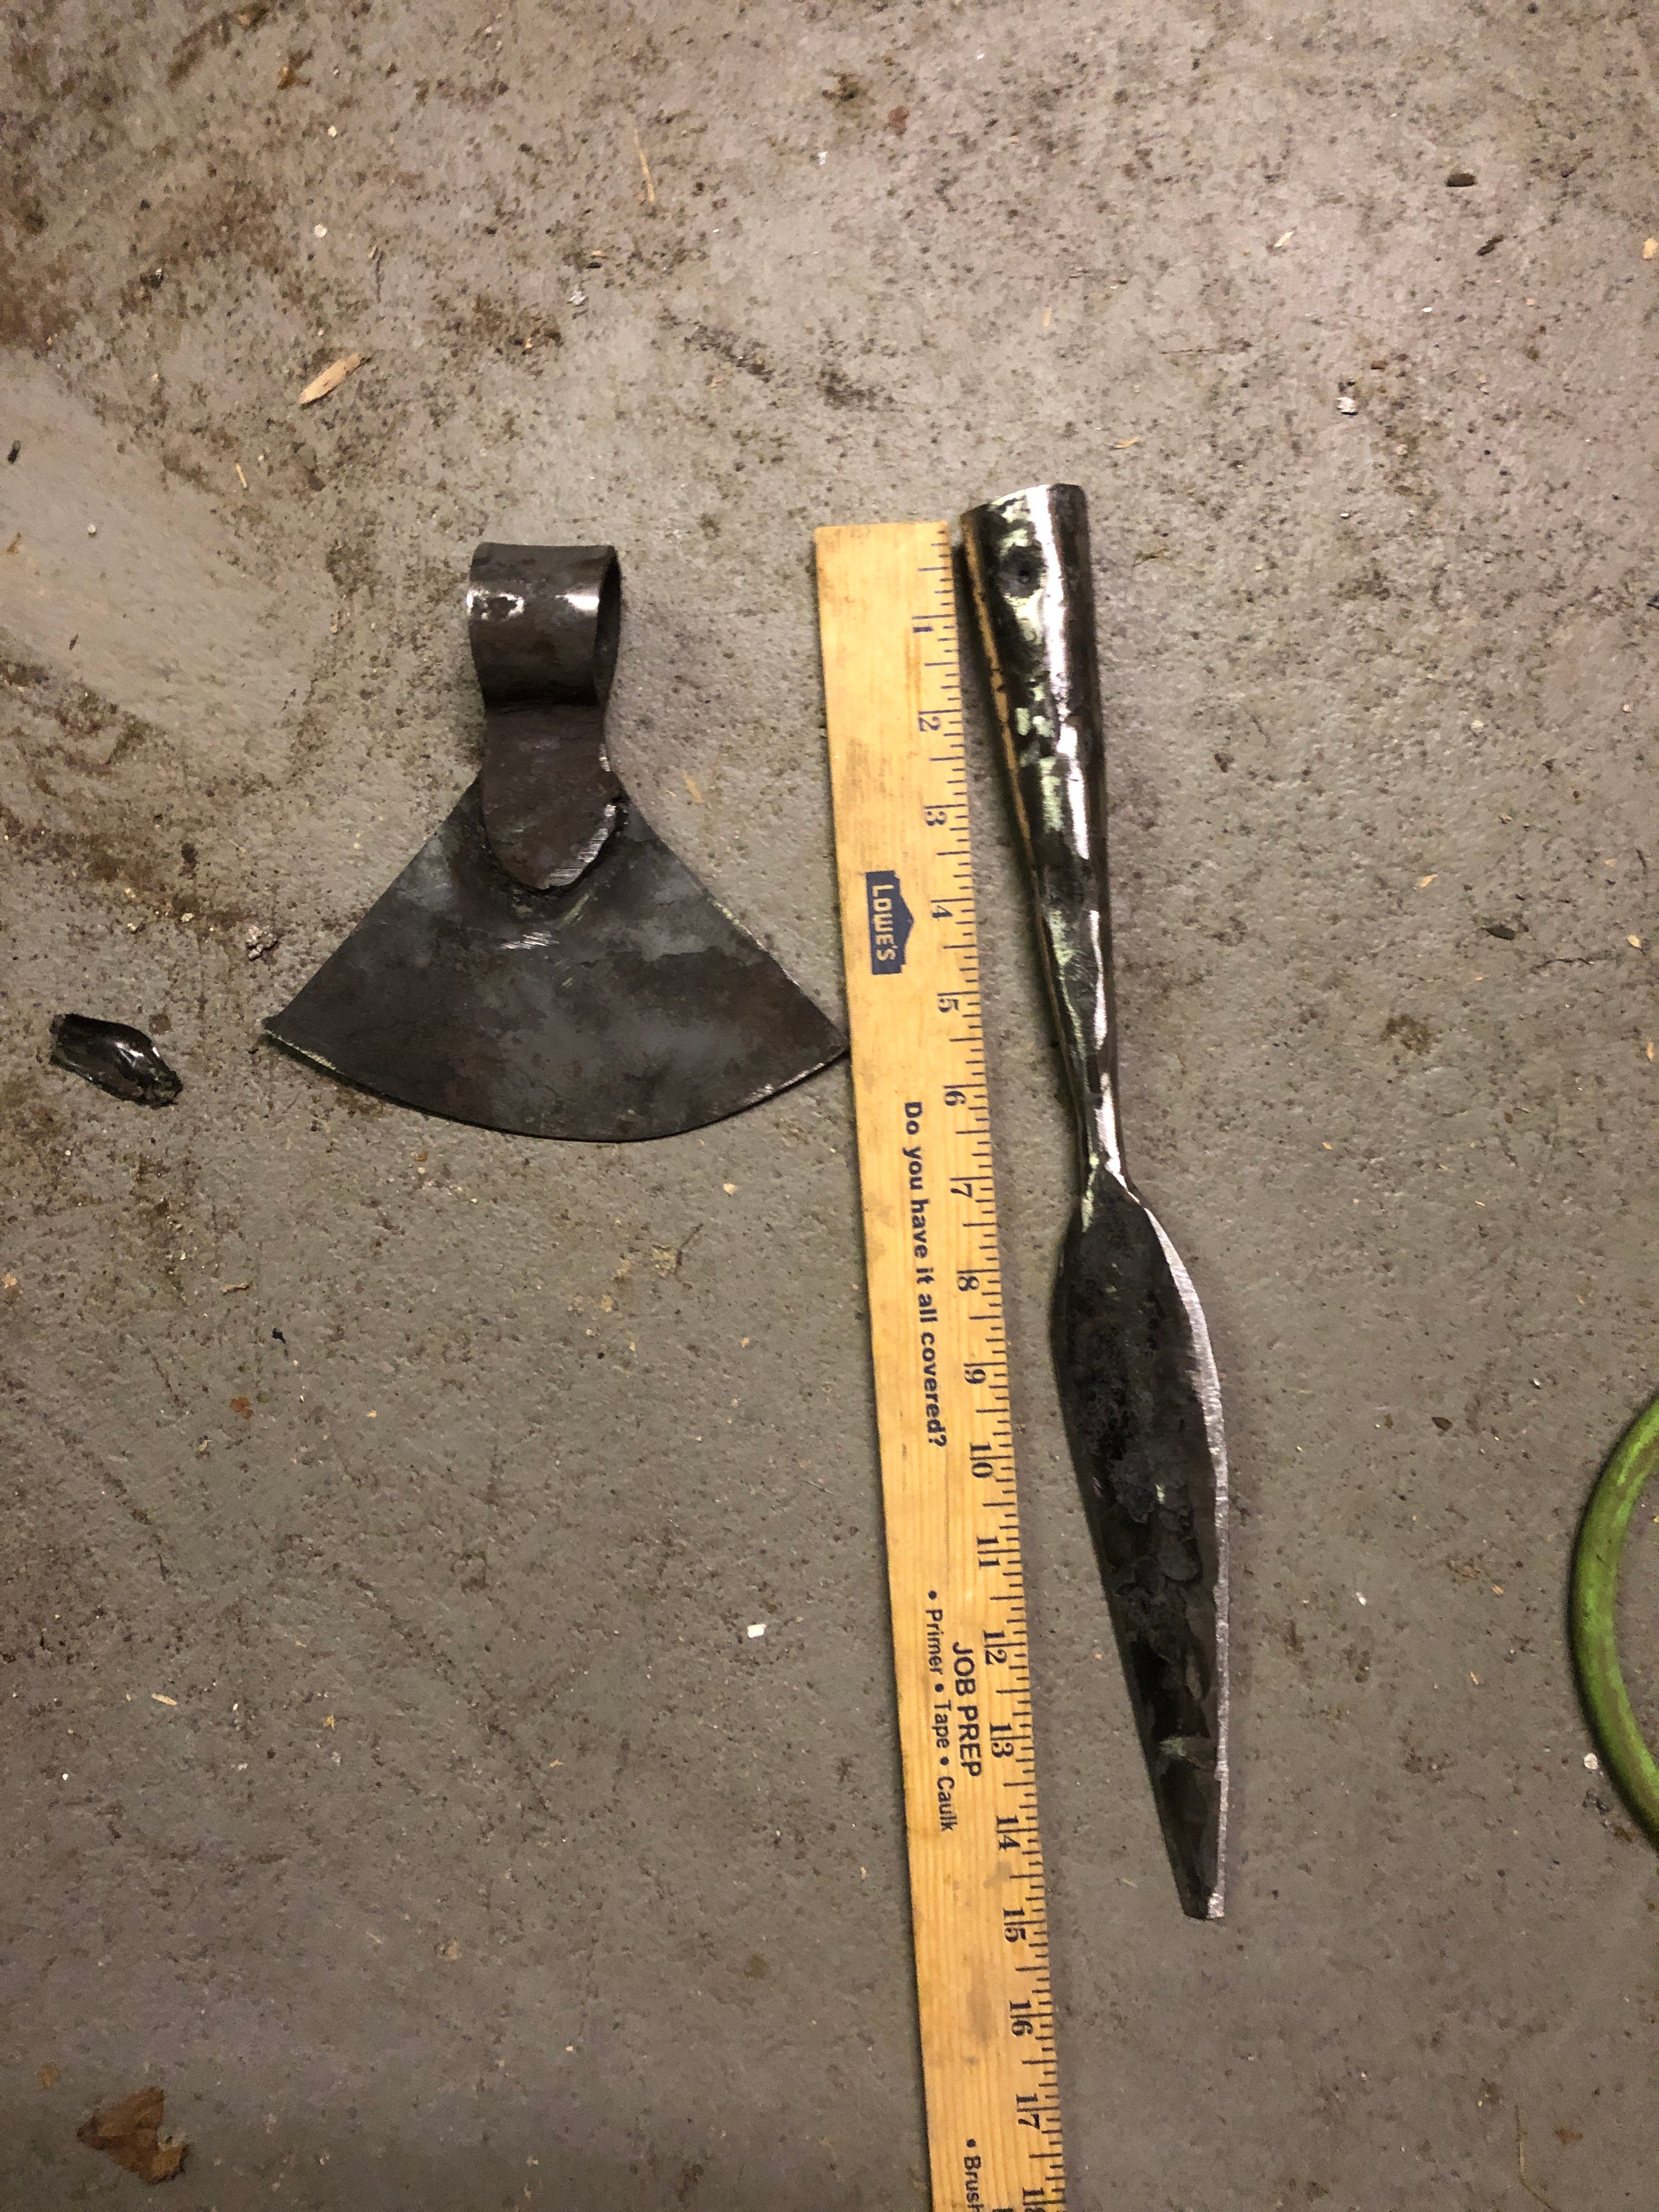
The tapered tip there for the socket is on the 1” end; the heavier 1 1/4” end will serve as a bit of a counter weight to the head, as well as being a nice index point to keep your hand from sliding off the back. I left a bit of the head end unfinished because I want a little shoulder behind the head, and I will work it down flush with the socket after mounting.
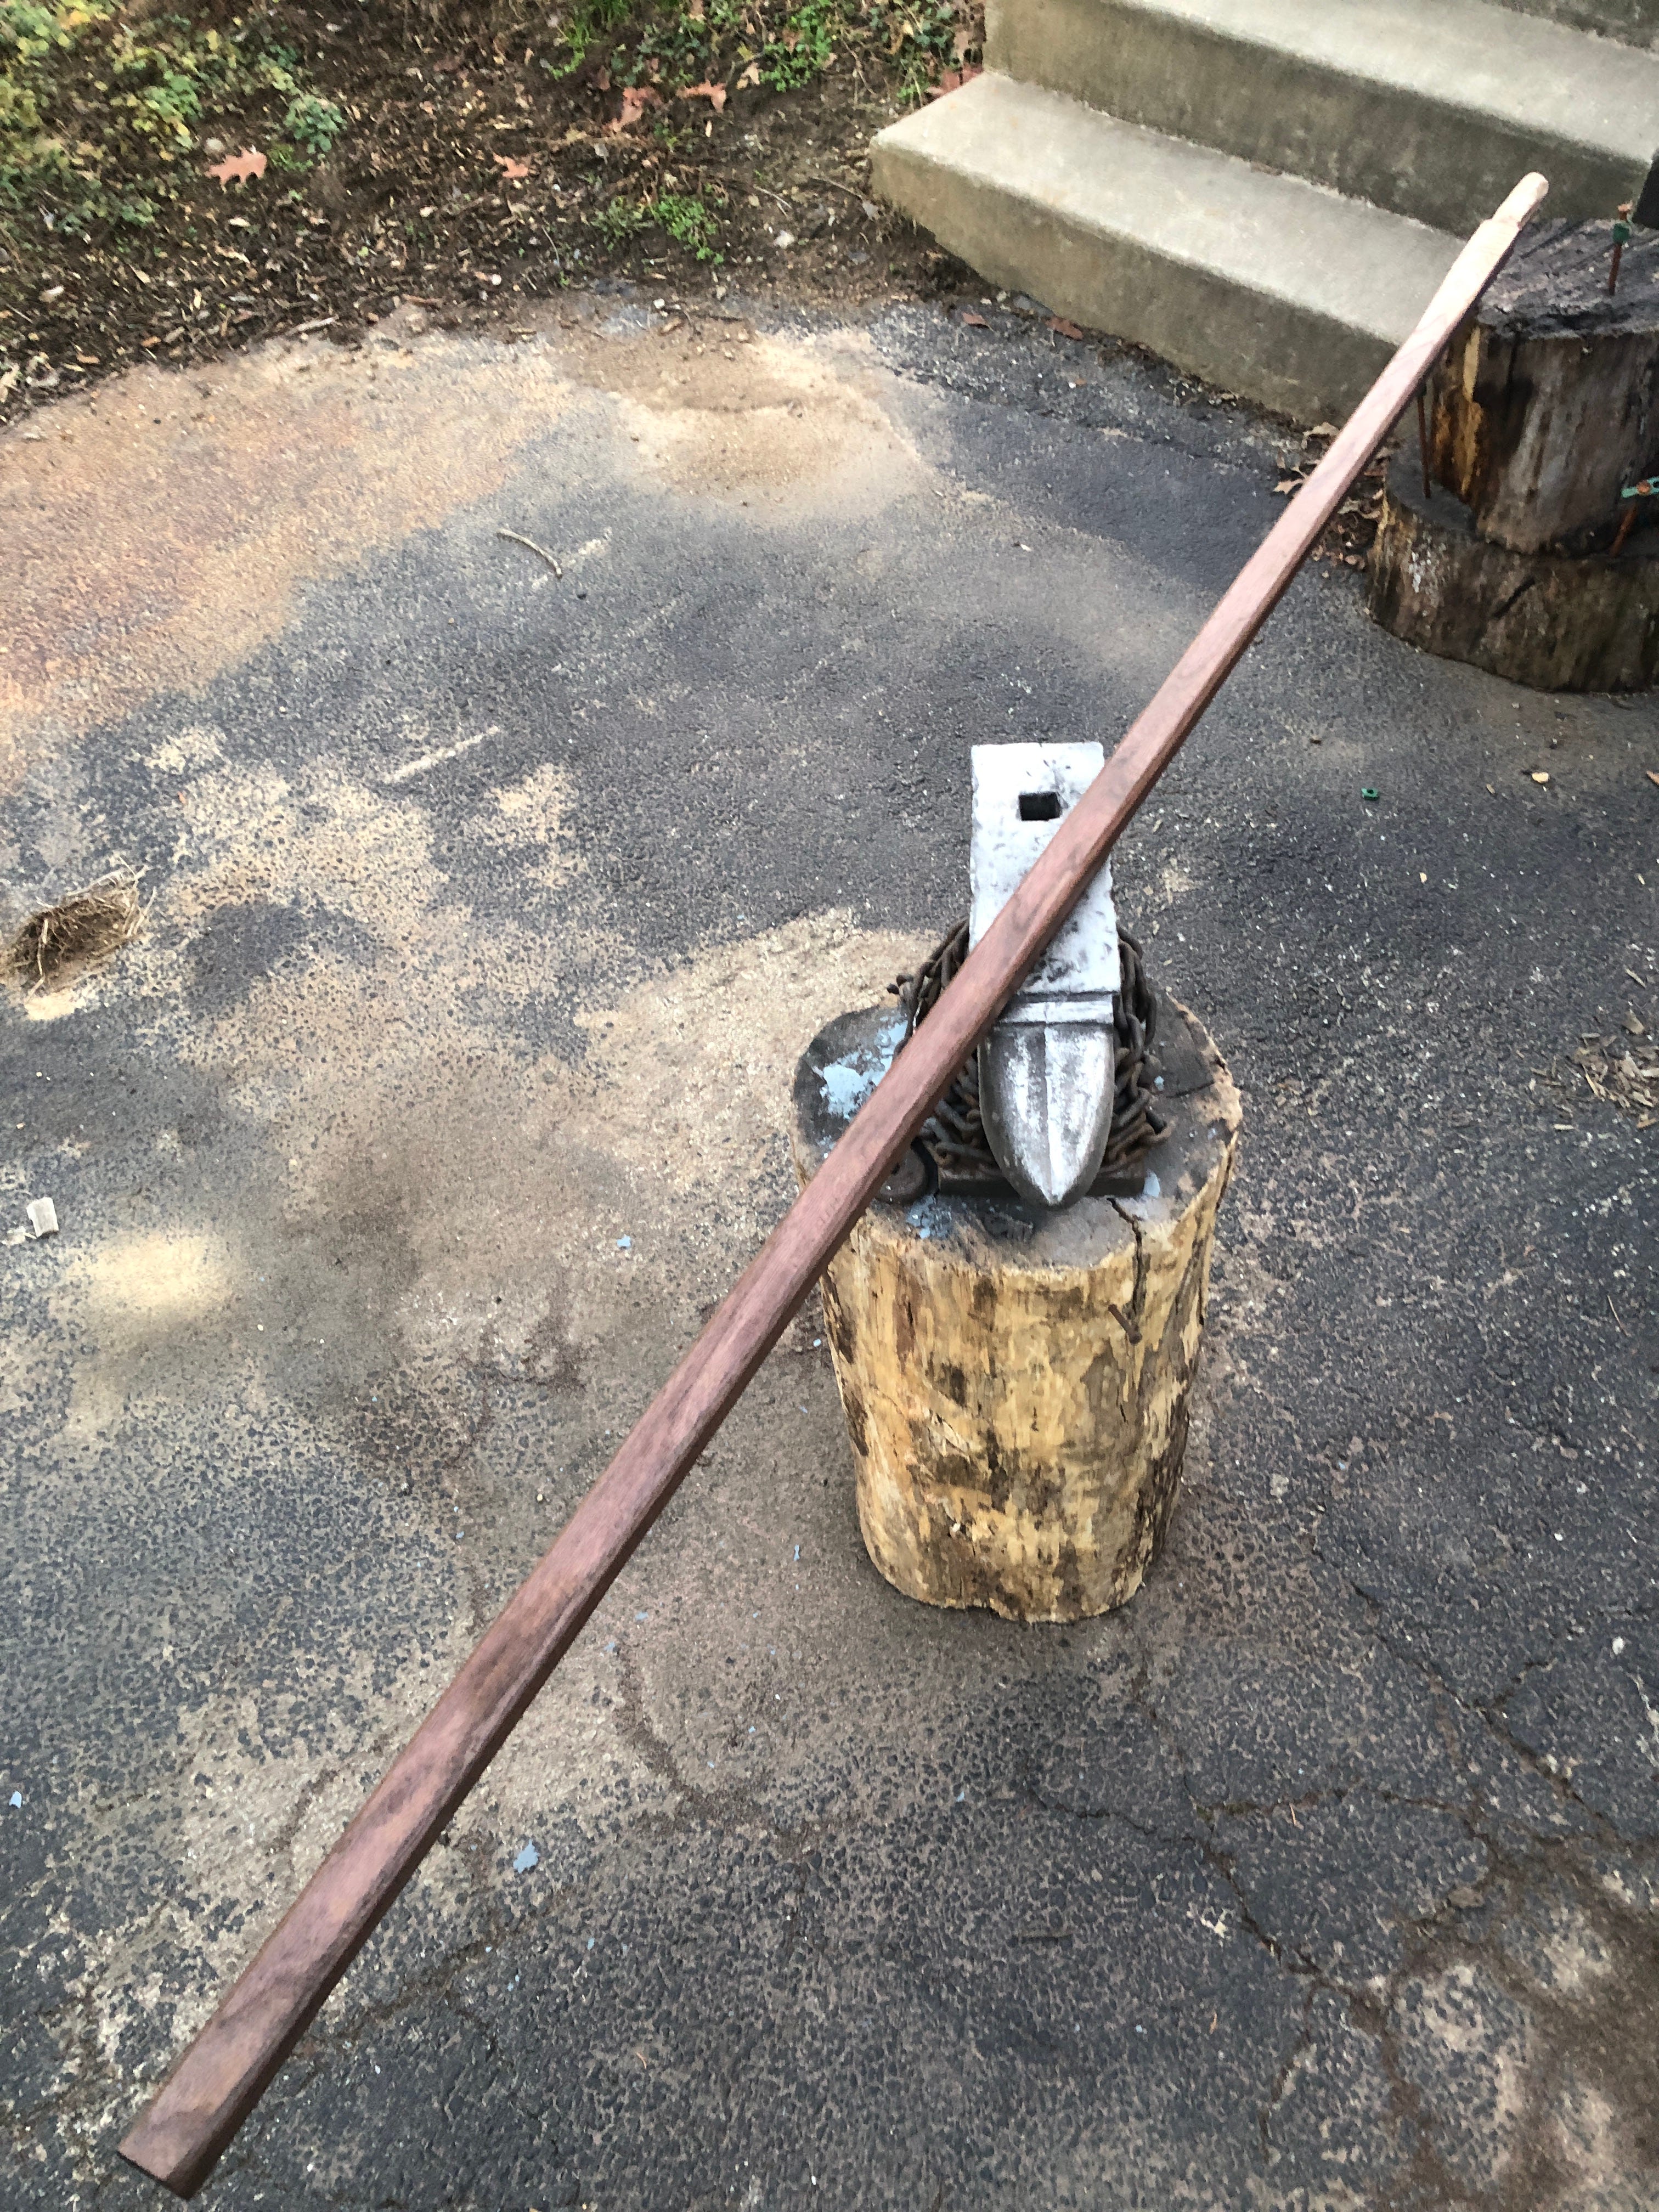
Cleaned it up and smoothed it out with a random orbital sander then some hand sanding, and added a little oil, and my, doesn’t walnut look nice?
Before I could finish the forge work on the head, there was one step I was kind of nervous about. For some reason I had suggested to Jay that I could chisel the name of the spear into the head in runes. Sure, I had never done it before, but it would be cool, right?
What the hell, Hammer?
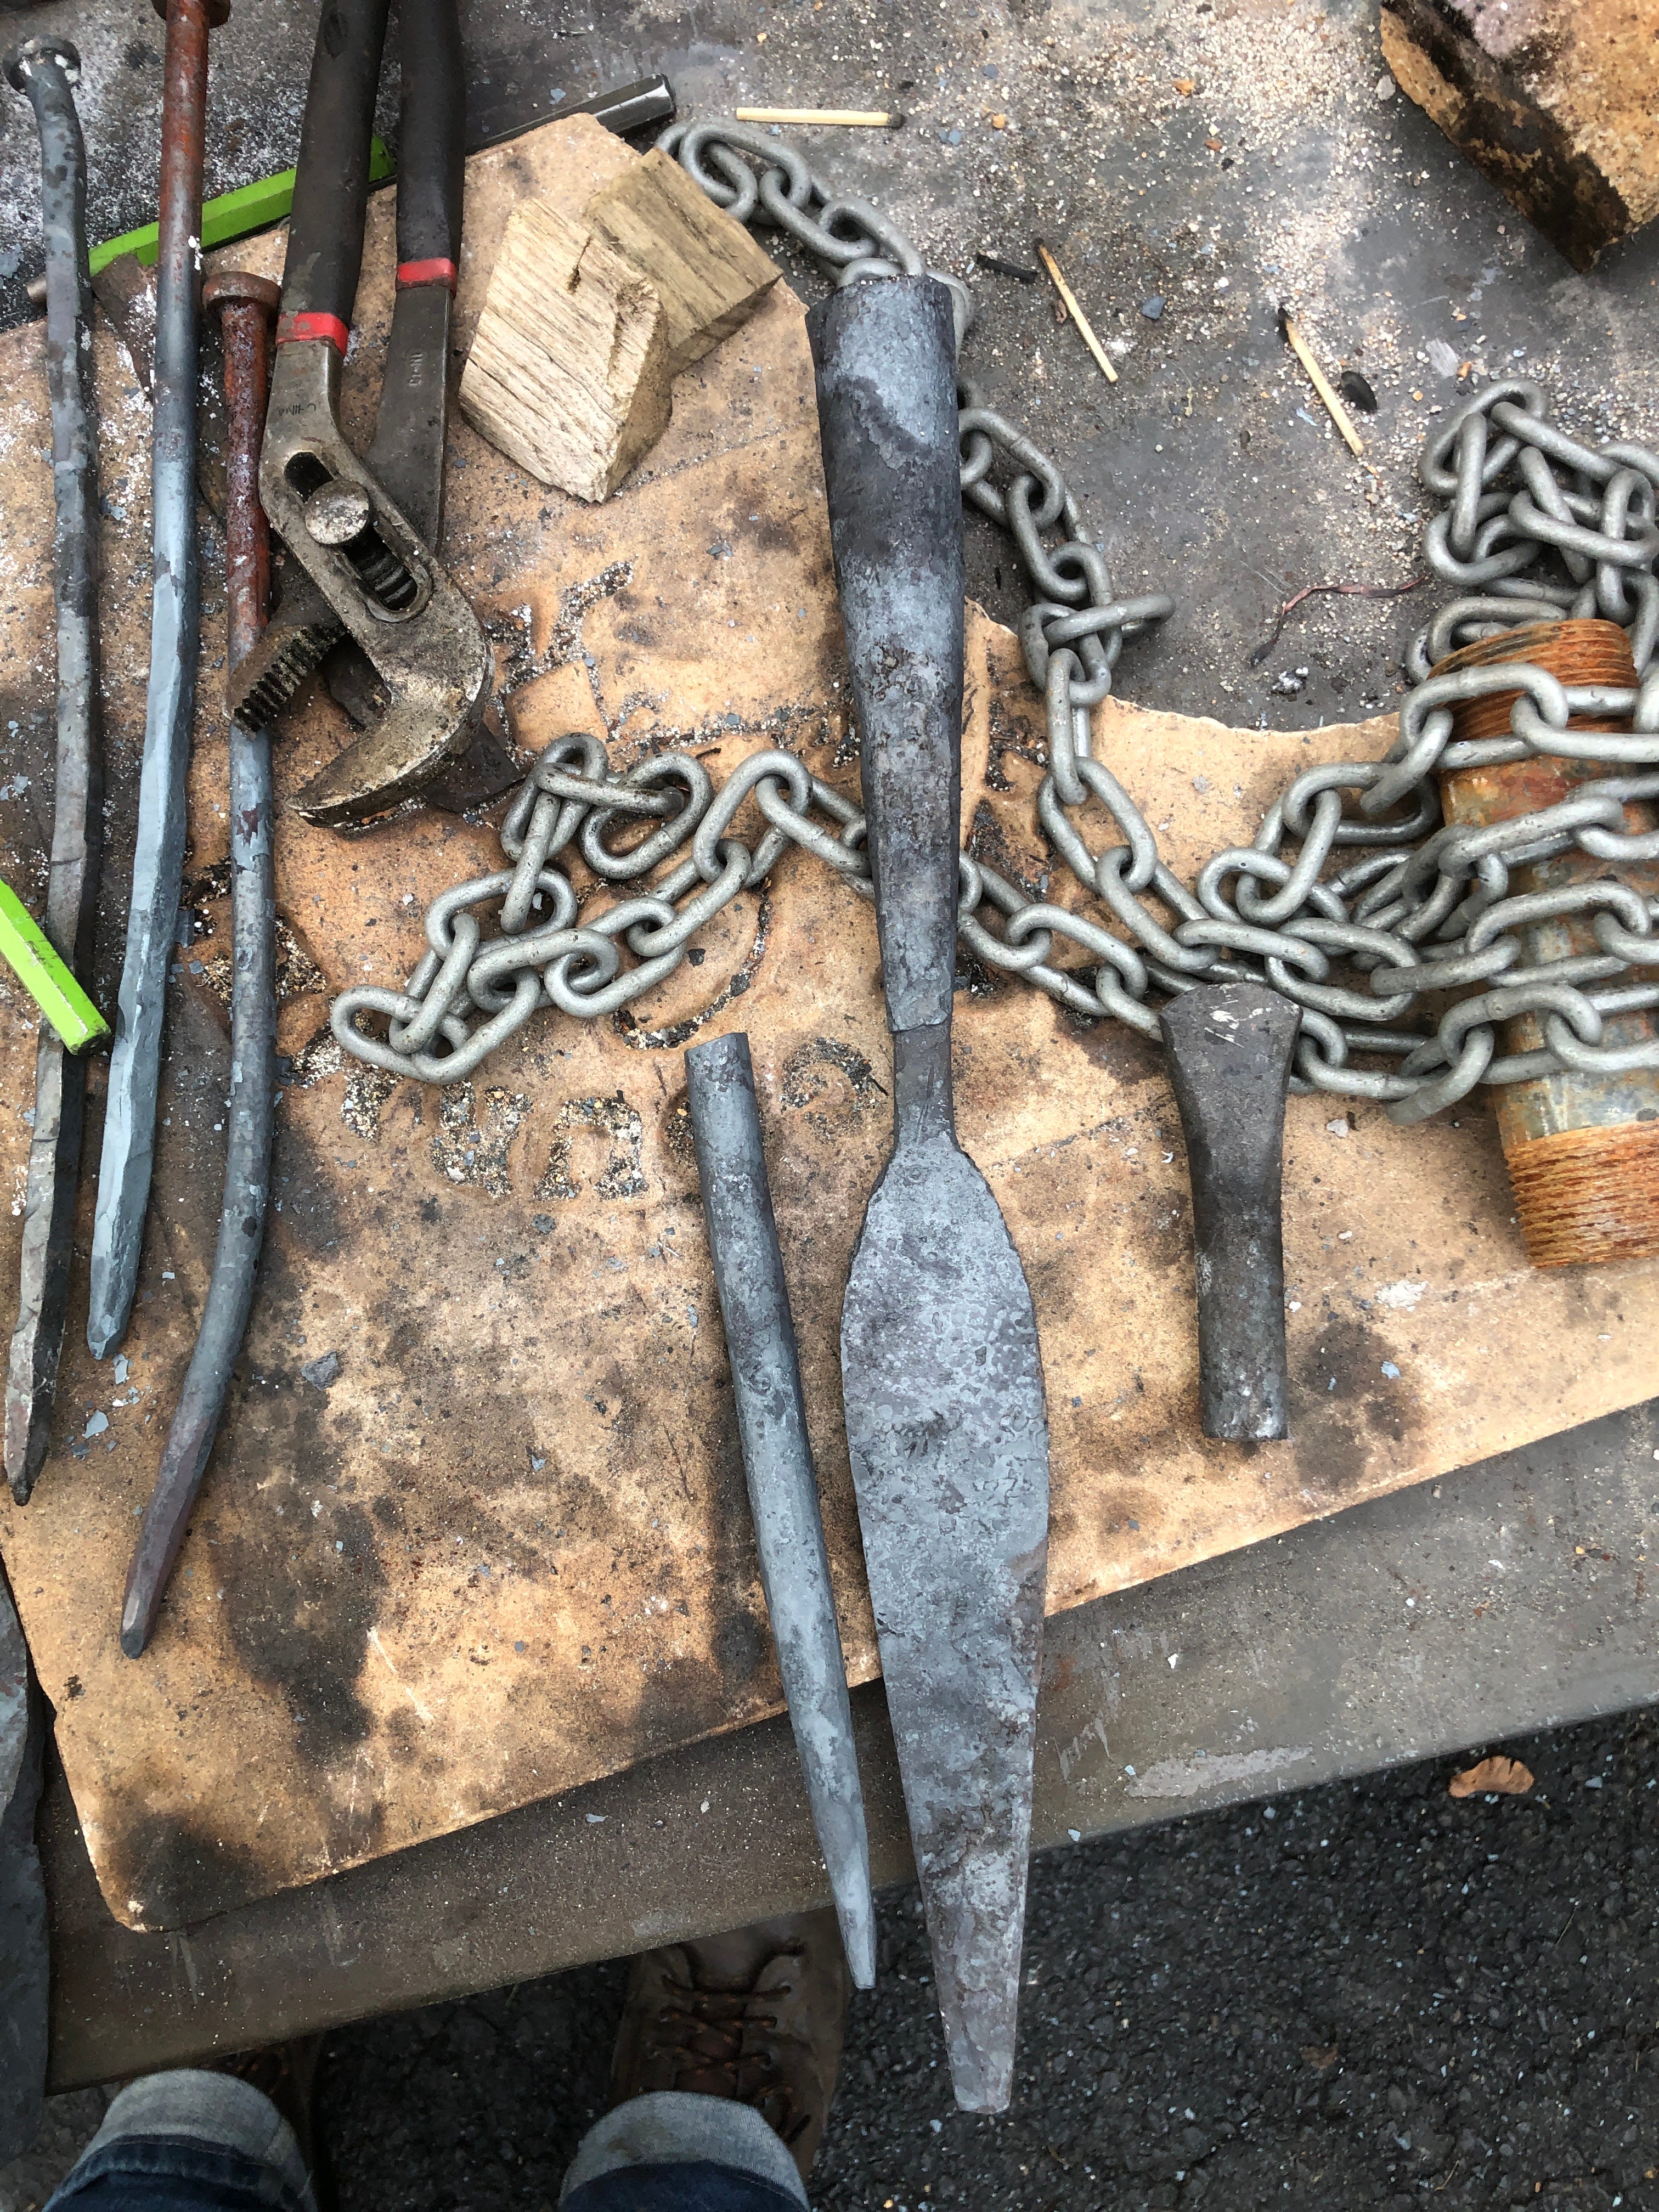
Fortunately I had some used coil spring that I could use to make some 5mm chisels, and some time to binge watch videos on the topic and I got to it. Realizing the depth of my folly, I decided to do something wise and practice on some flat stock I had sitting around.
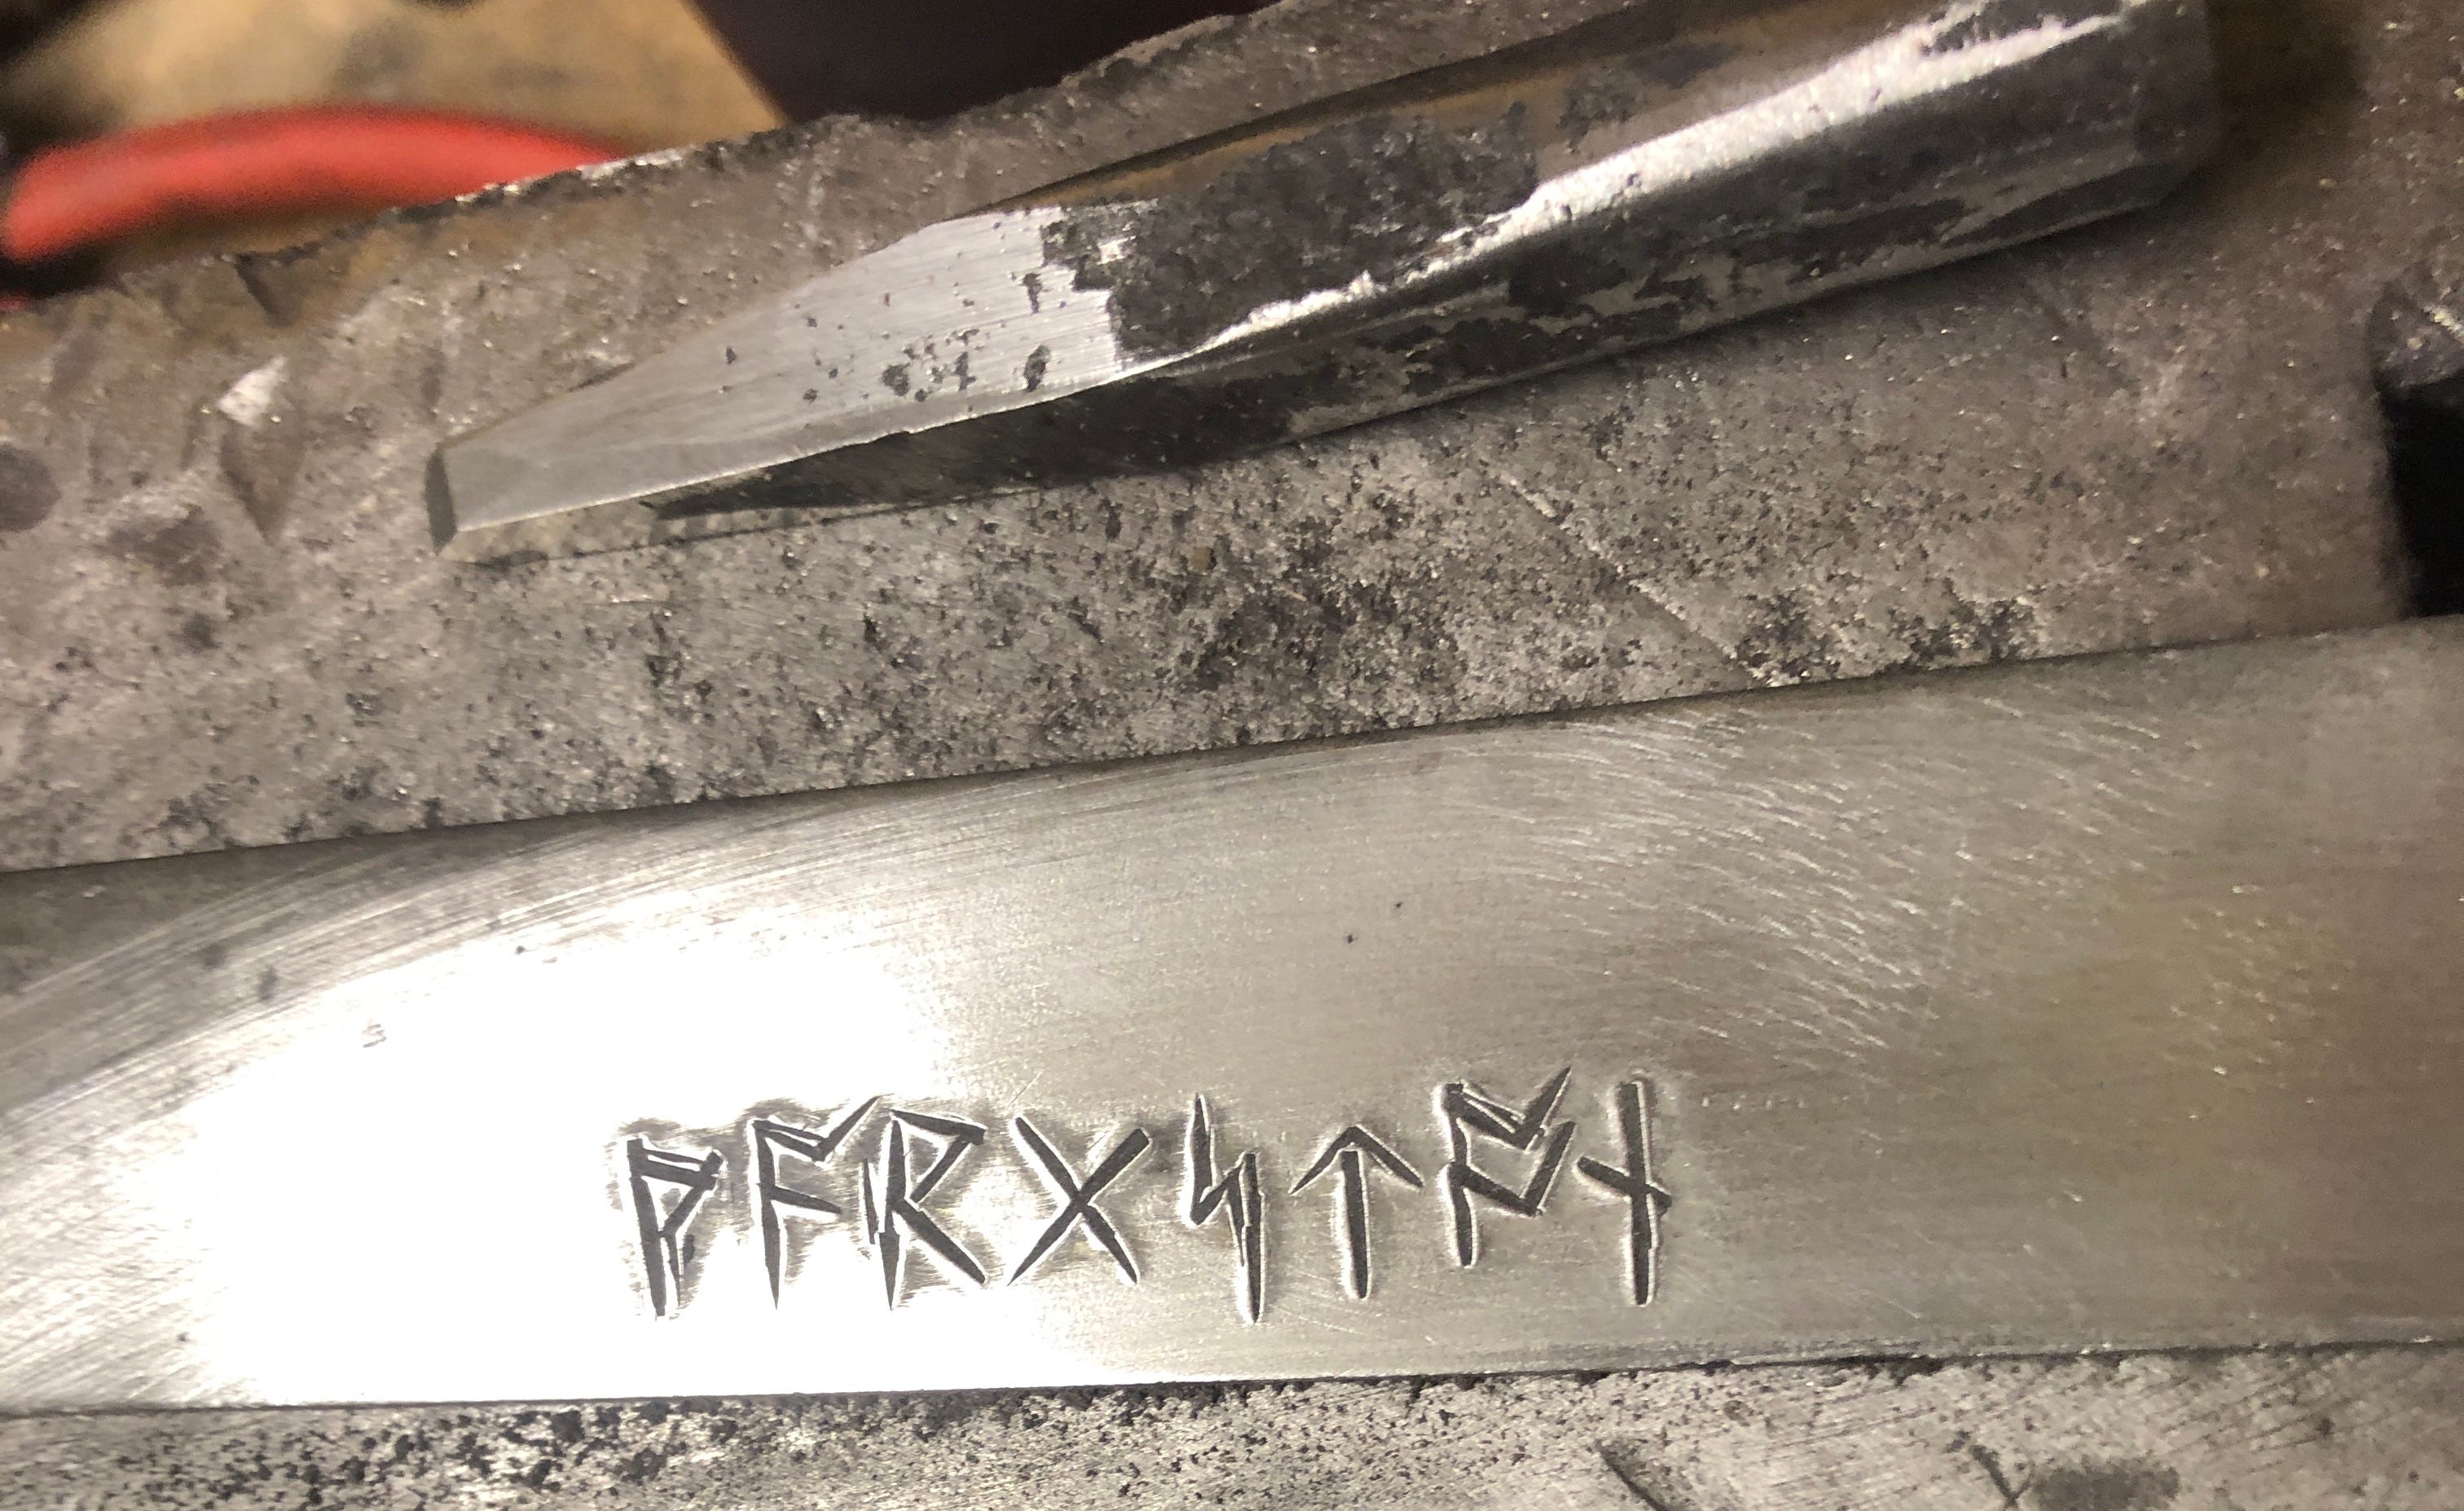
It actually worked out really well! You can see one of the three little chisels up there. The process is a little tedious, but actually not half bad. You have three chisels, all the same width, but with different slopes to the edge. You start with a pretty tough obtuse angle that starts the groove and pushes up on the surrounding material a bit. Then you go to a chisel with a somewhat sharper angle that makes the groove deeper and mostly pushes material up instead of sideways. The last chisel is much sharper, effectively making the mark vertical towards the bottom. Once you get that first shape in with the beefy chisel then you are basically just going over everything a few more times with the finer chisels, cleaning things up and adding some nice depth.
Feeling pretty good about chiseling the hell out of some mild steel, it was time for the head and… yea. Even normalized, softened spring steel is a lot tougher to chisel than mild steel. Here I was, worried I might cut through the thinner parts of the blade with the sharper chisels if I wasn’t careful, when in fact the chisels themselves were starting to dull and round off against the blade. It also didn’t help that the blade wasn’t flat but a rhombus in cross section, so it wanted to bounce all over without a thick piece of leather and a clamp.

Not as pretty, I’ll admit, but it’s a name, goddamnit! Warg’s Tooth is now ready to go into the fire!
Then I did some more polishing…
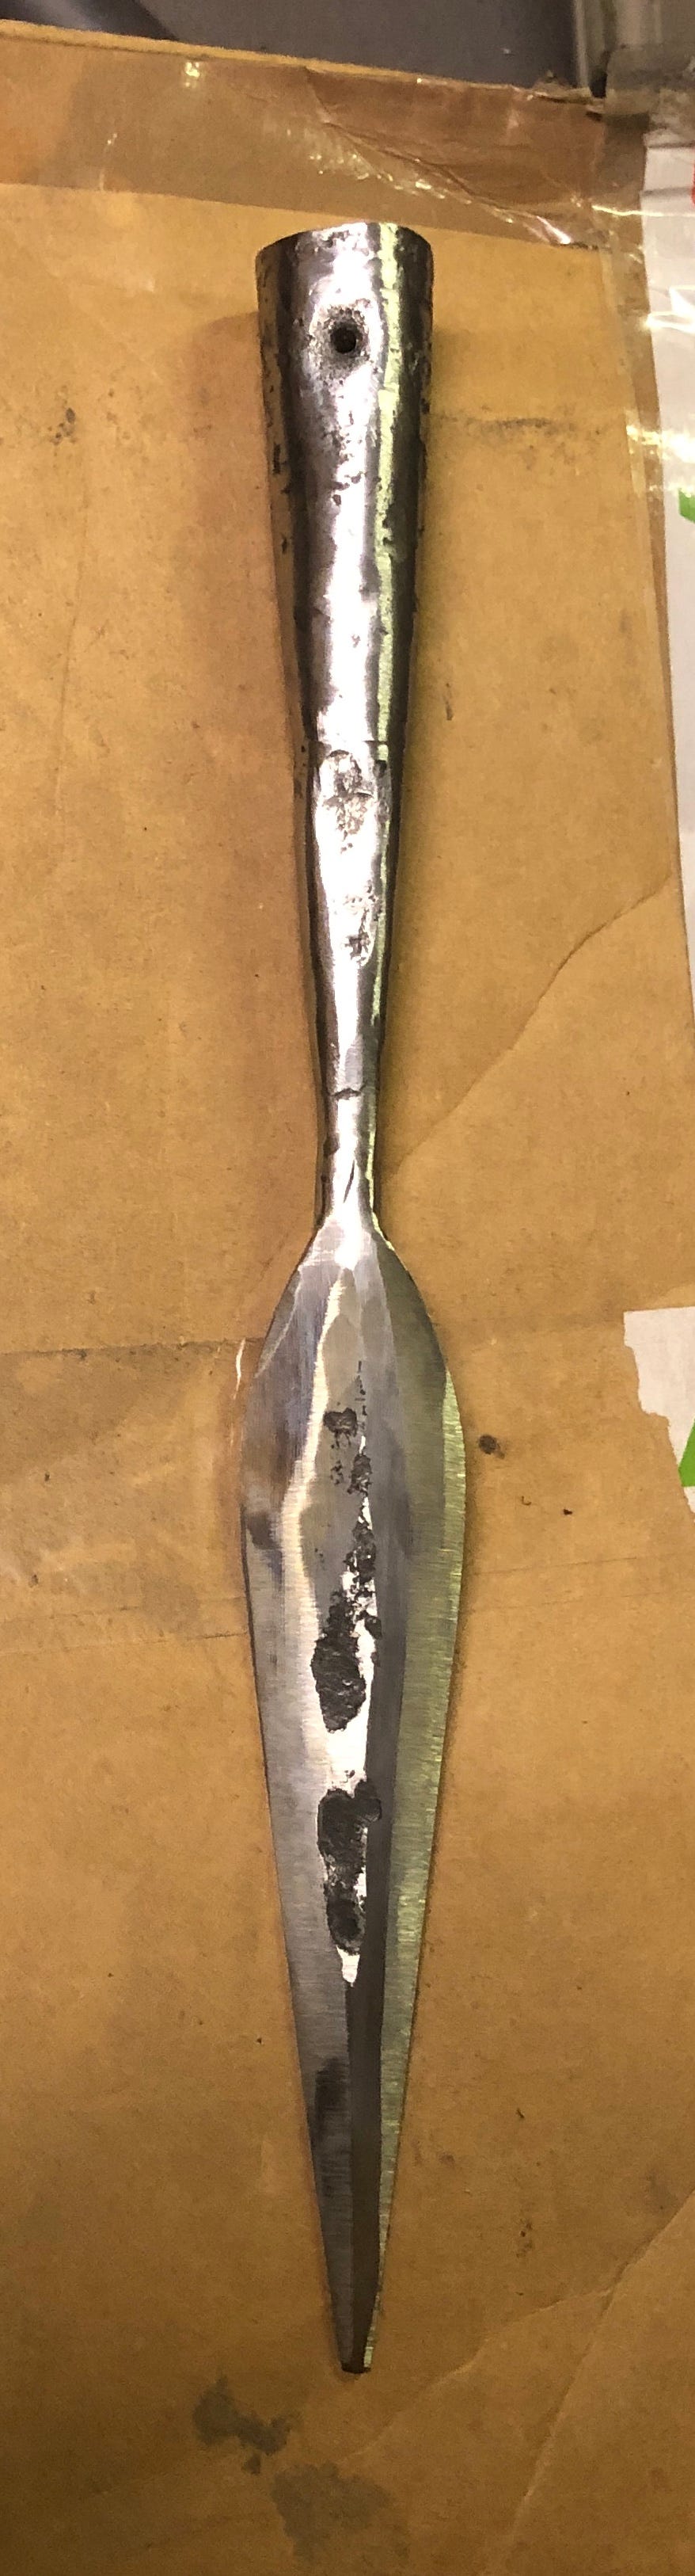
Then it was time to finish the forge work with the head. Primarily that was tweaking the shape (correcting a tiny bend), heat shaping the socket bearing part of the shaft, and then quenching and tempering.
If using red hot metal to perform precise wood work shaping is wrong, I don’t want to be right:

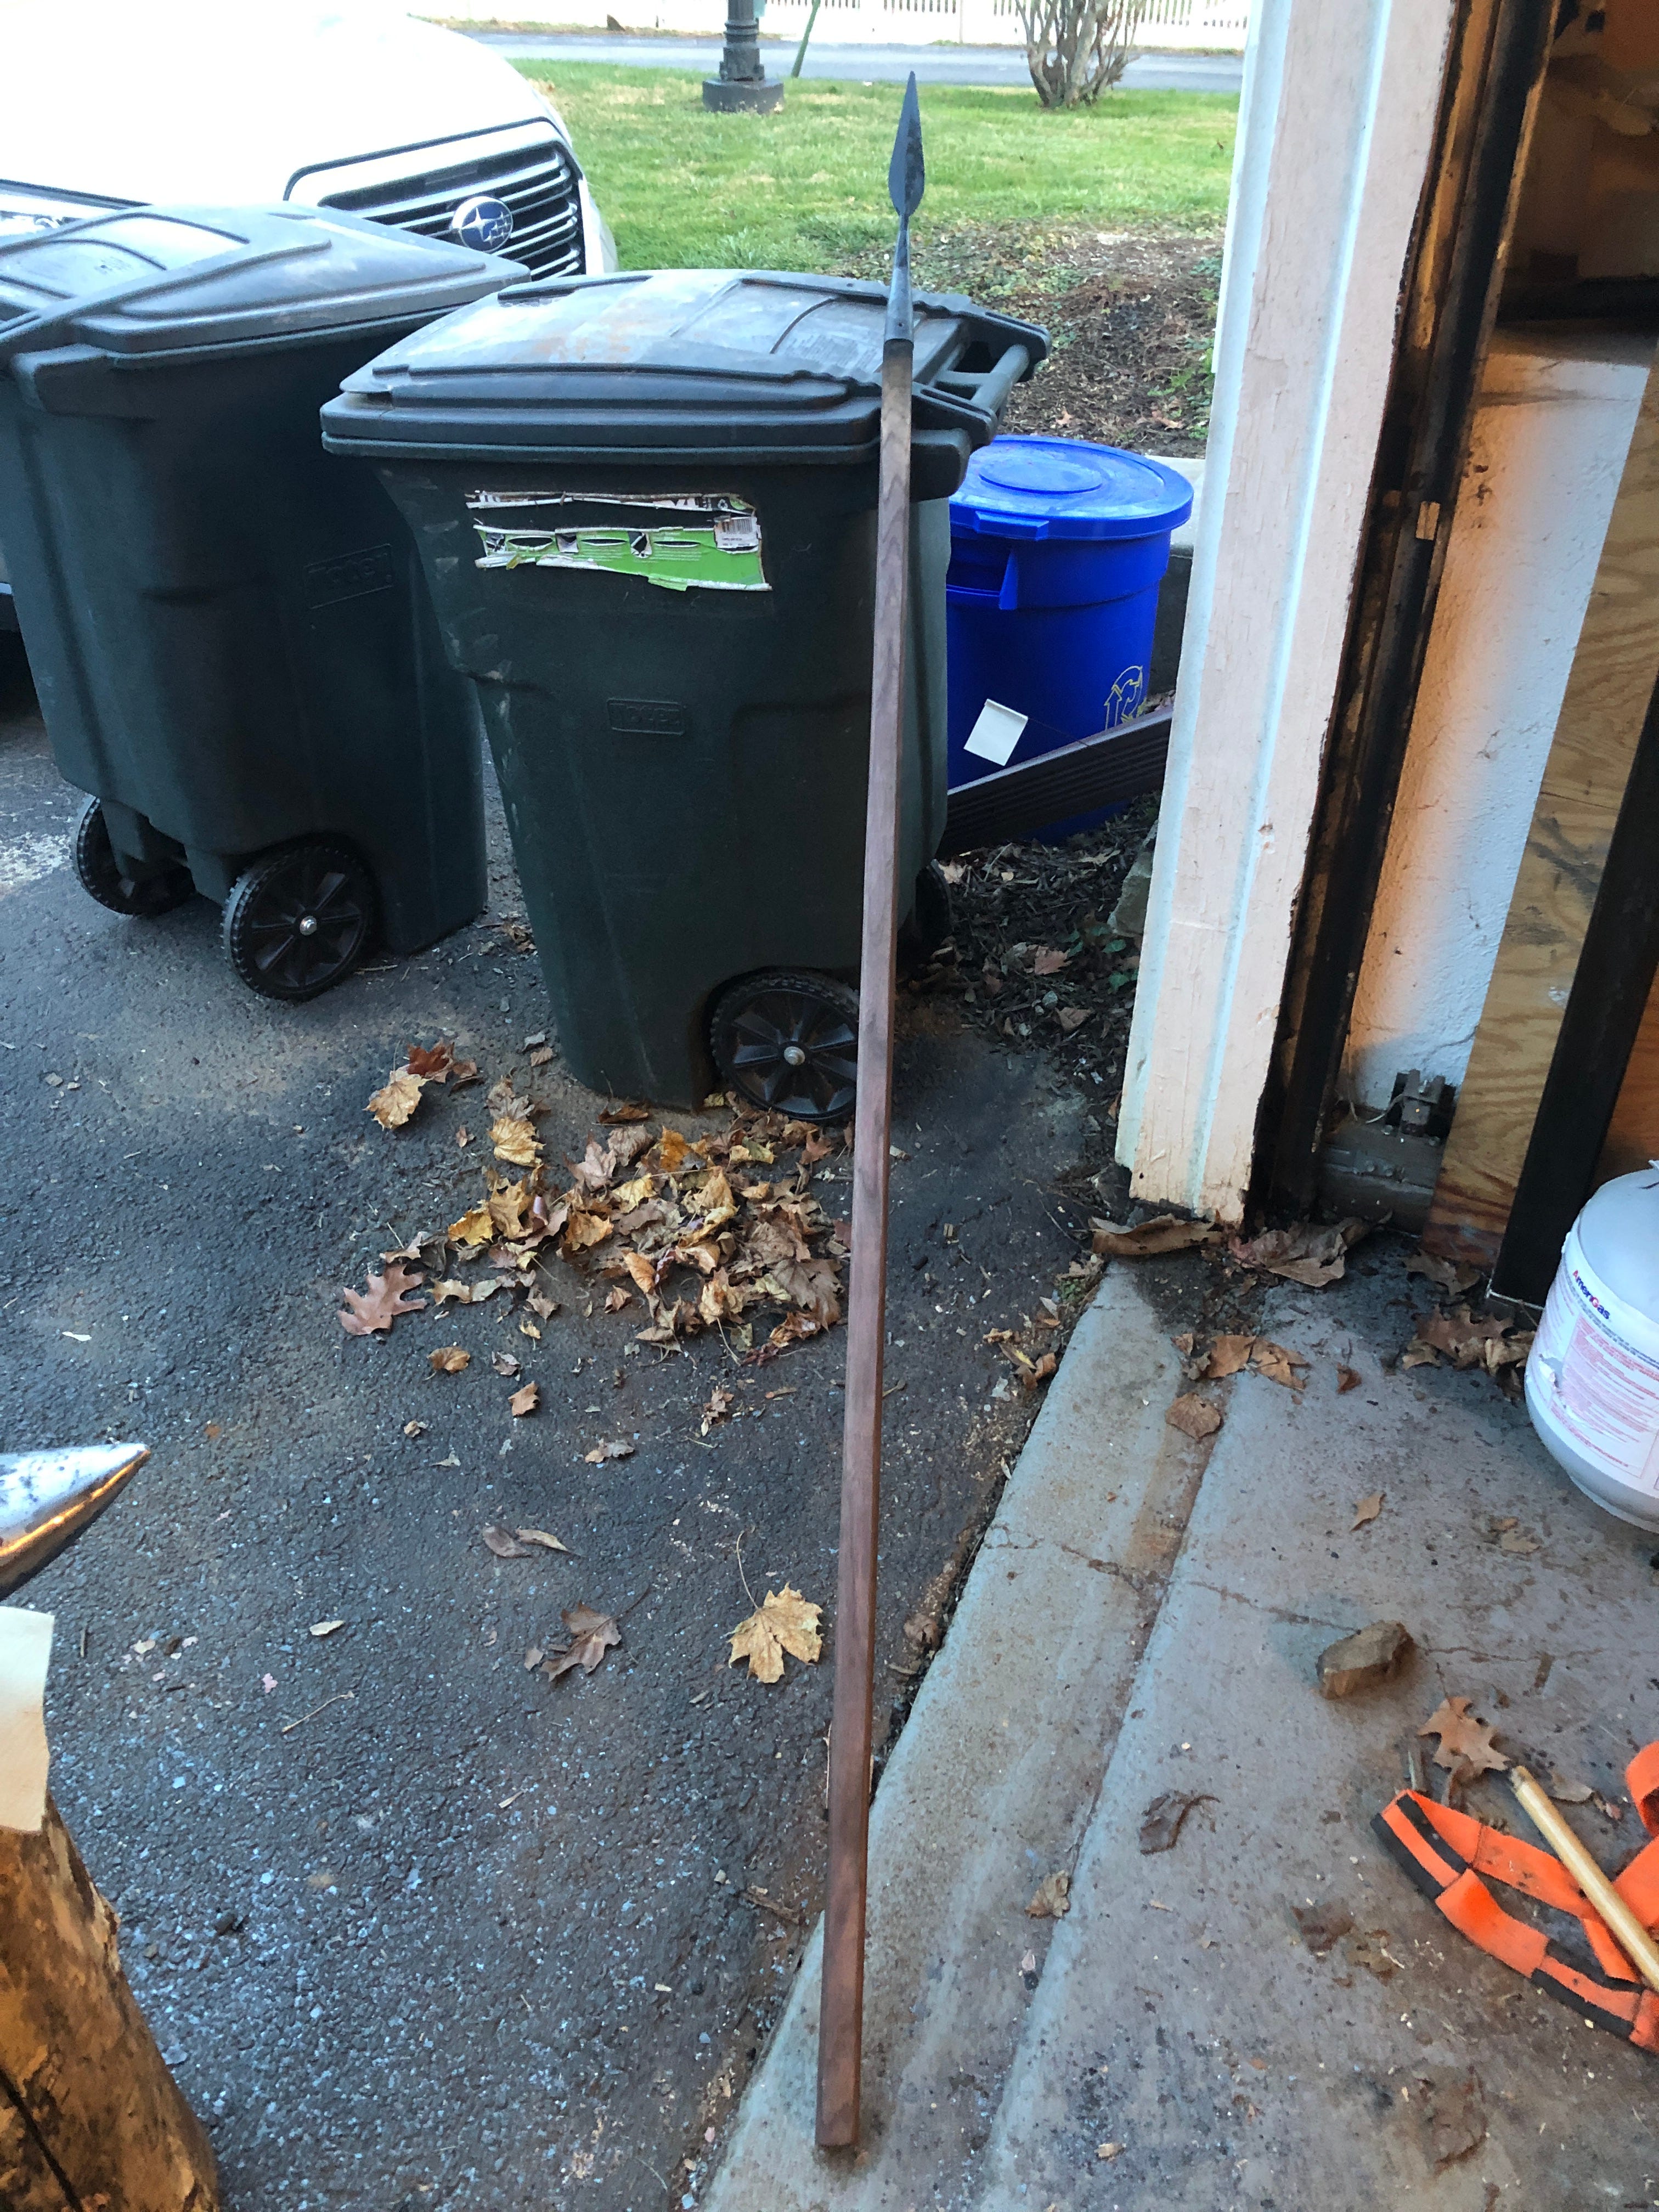
It fits!
After heat treating it’s more sharpening and any last second corrections and clean up.
I attached the head with a good sized copper rivet. Not the hole way through, as the nail hole goes through only one side, but through and tapped in such that the bottom flares along with the top. The bottom flare of the tip against the inside of the socket keeps it solid in the wood, and the flare at the top gets it snug inside the hole. In theory a spear would go through many shafts in the lifetime of the head, but since I doubt Jay is going to be killing Normans on a regular basis, and possibly not even throwing it at a target, I didn’t mind a slightly more secure/annoying to remove nail. If the shaft does break, the copper rivet will be easy enough to drill or cut out and replace.
Then we apply some tung oil to the shaft and head3 and we are ready to rock!
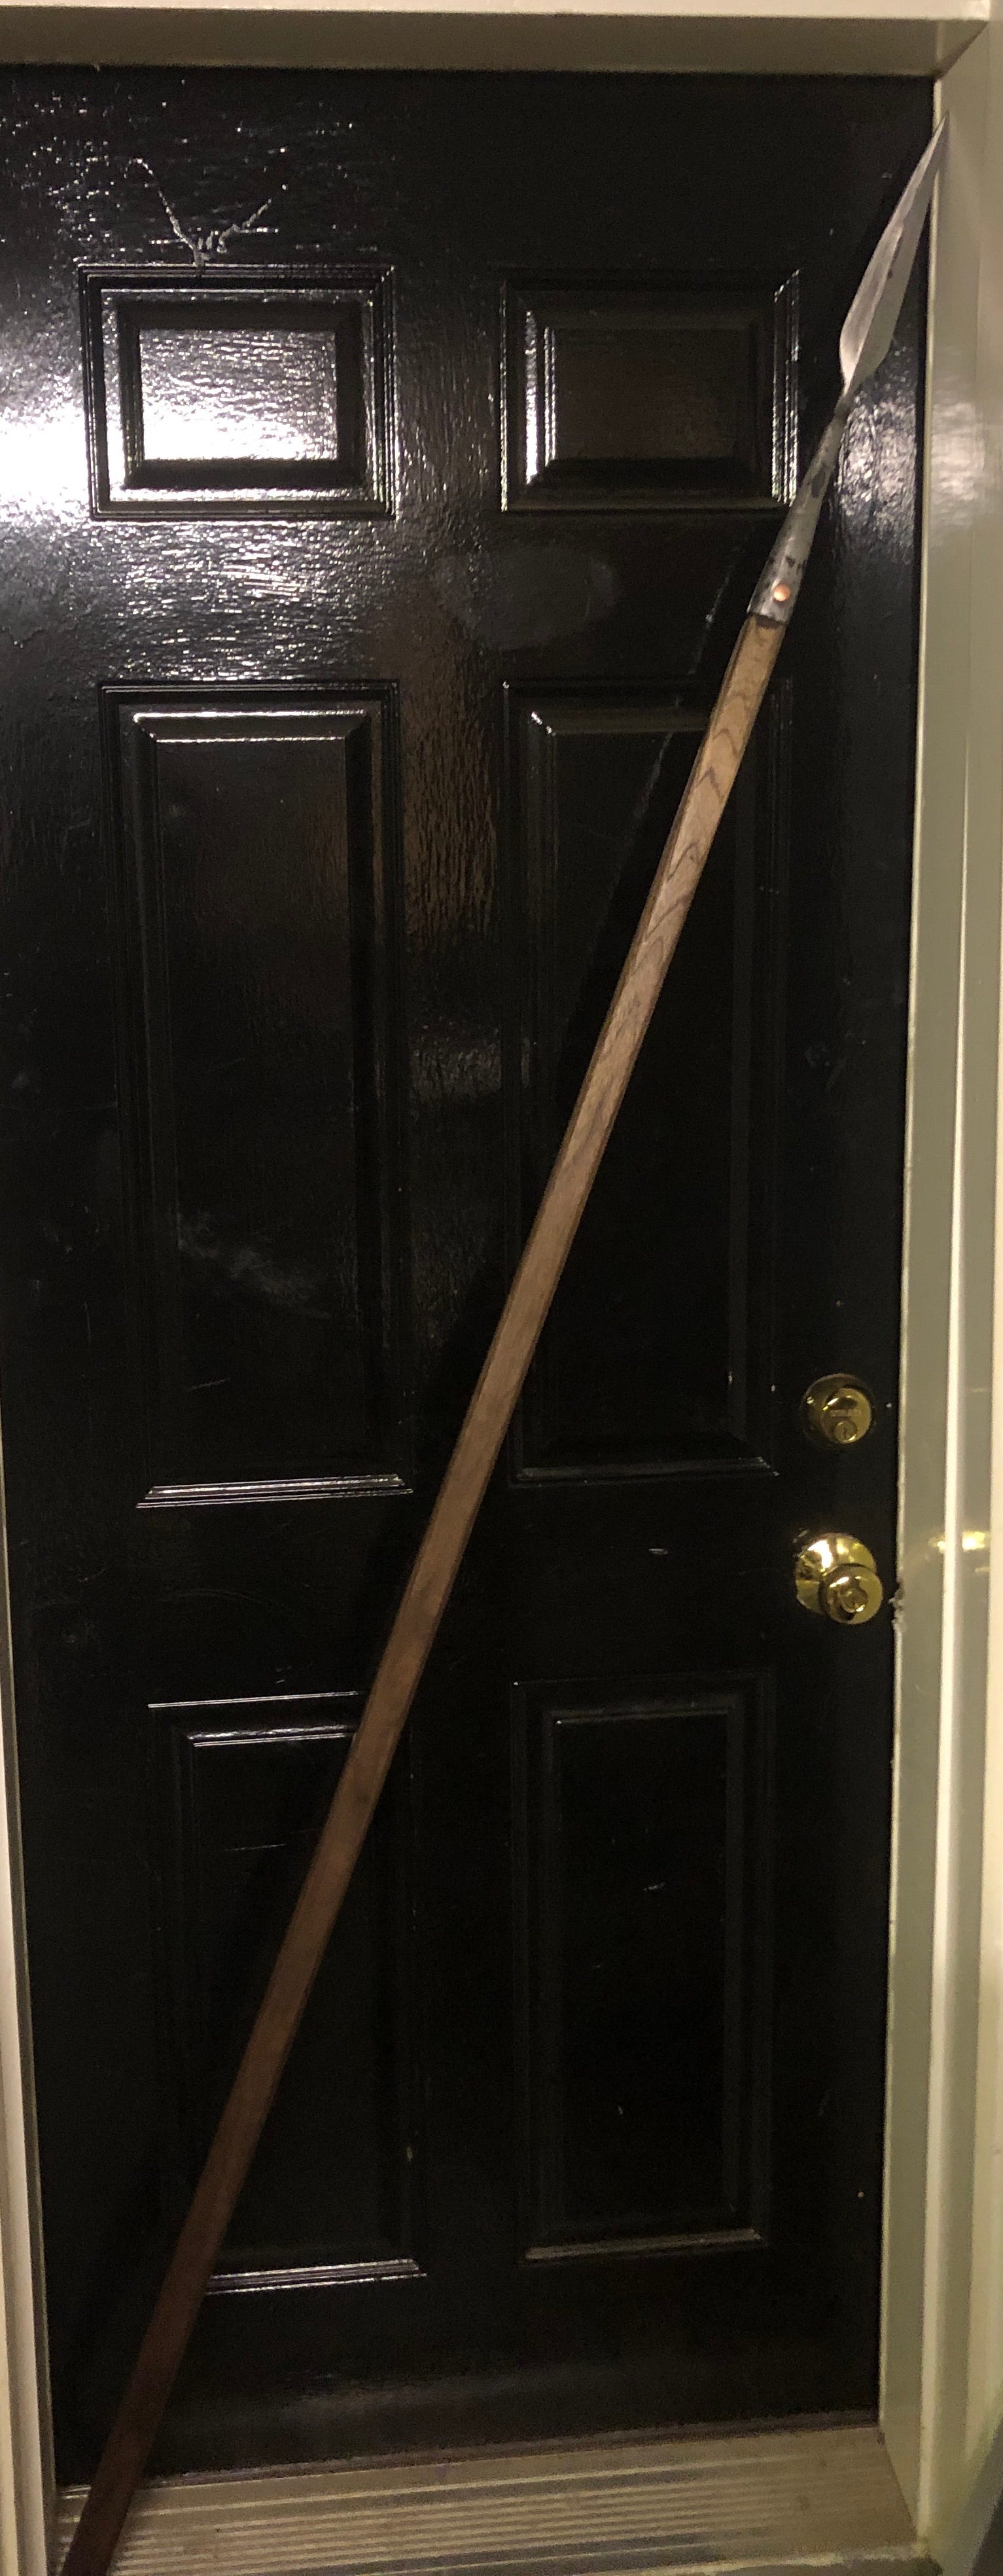
I was hoping to get some good action shots of Jay and I lancing that bad boy through water bottles, throwing into stumps, etc. but alas, the day of his trip down it was pissing cold rain and sleet. Still, I am quite pleased with the build, so pleased I plan on making another for myself!
I did learn some things though, which might prove helpful to someone attempting the same project (like myself in a few weeks when I have time to forget.)
Forge welding, which is sometimes regarded as black magic, is a lot easier with:
Larger pieces of metal.
Tossing a little chunk of wood into the back of the forge to make sure there is as little extra oxygen in the chamber as possible to avoid oxidization of the metal.
The socket does not need as much material as I expected. I should have been more aggressive in cutting off extra and just leaving enough for a butt join.
As handy as the little anvil bick I made previously was, it would have been a lot easier with a dedicated tool exactly the size of the intended interior of the socket. If you plan to make more than one spear, make one of these first.
Along those lines, if you are going to chisel runes into a rhomboid blade, make a shaped bed of wood to hold it securely at the proper angle to keep it from skating sideways when you hit it. (Or maybe don’t put the runes on the blade…)
Also, remember those coil springs I used to make the chisel? Those came from my auto mechanic. I had taken my wife’s car in for inspection, and happened to ask Brian if he had any old springs laying around I could get from him, being an amateur blacksmith etc. He said “Oh, cool. My dad’s buddy in North Carolina does that. I think I have some springs; I’ll throw them in a box in the trunk when we finish up.” Turns out he had a freaking monster of a coil spring from a bakery truck:

That’s a 19 lb, ~3/4” beast! My eyes must have fairly popped out of my head, because Brian was quick to point out that they don’t usually get those sizes, but if I wanted to give him a call every few weeks he would let me know what they had around since the scrap guy just comes and takes it otherwise. I of course thanked him profusely and promised I would, although that was probably enough spring for the next 5-10 years.
So, massive shout out and Thank You! To Brian at Lament’s Auto Service! If you are in the area and need car work, I recommend them for being honest about what needs fixed, and also just for being really good and friendly guys in general.
Someone is getting a handmade knife made from spring steel soon!4
Also in the upper pic is an experimental wrapped eye ax head made with a chunk of old circular saw. That one also welded up a treat; more on that in the next post (or after when I finish it.)
Thanks to Adam Savage’s One Day Builds videos on YouTube for the idea.
I will spare you, but rest assured I was giggling like a mad man coming up with sophomoric puns for this in while working in the garage.
I missed Christmas… is it weird to give another man a knife as a Valentine’s Day present?
Spring steel is an excellent material for spears and that walnut handle is delicious.
In some traditions (according to Fathermouth's side of the family) giving another man a knife as a gift will fate them to eventually betray you, so you sell it to them for a token sum like a penny.
Make of that what you will.
Good work. I have a Seax I'm slowly working on inlaying twisted copper and silver wire myself. 1084 is hell on gravers.